Friday, February 8, 2013

New collection of rings

Today I don't want to write anything, just post photos of my new collection of rings. They are absolutely romantic and femminine!


Wednesday, February 6, 2013

Trip to Rotondella... again


This weekend we decided to spend with friends in Rotondella, a small town between Basilicata and Calabria. We have been there several times for eat a rooster cooked in a small restaurant near town.

Since we went with our friends Katya and Antonio, so we decided to stop for the night. To spend weekend away from the home is great, especially with friends)
We arrived at 16:00, left out bags in the hotel and went on the beach  for a walk and watch the sunset. I forgot to say that Katya is not only my friend, but my model) so what were doing and what about our men were chatting we do not know, we were concerned makign a photo shoot!


In general, judging by the photos, our men also had fun)


The evening we spent in bowling, playing and eating pizza and then went to bed.
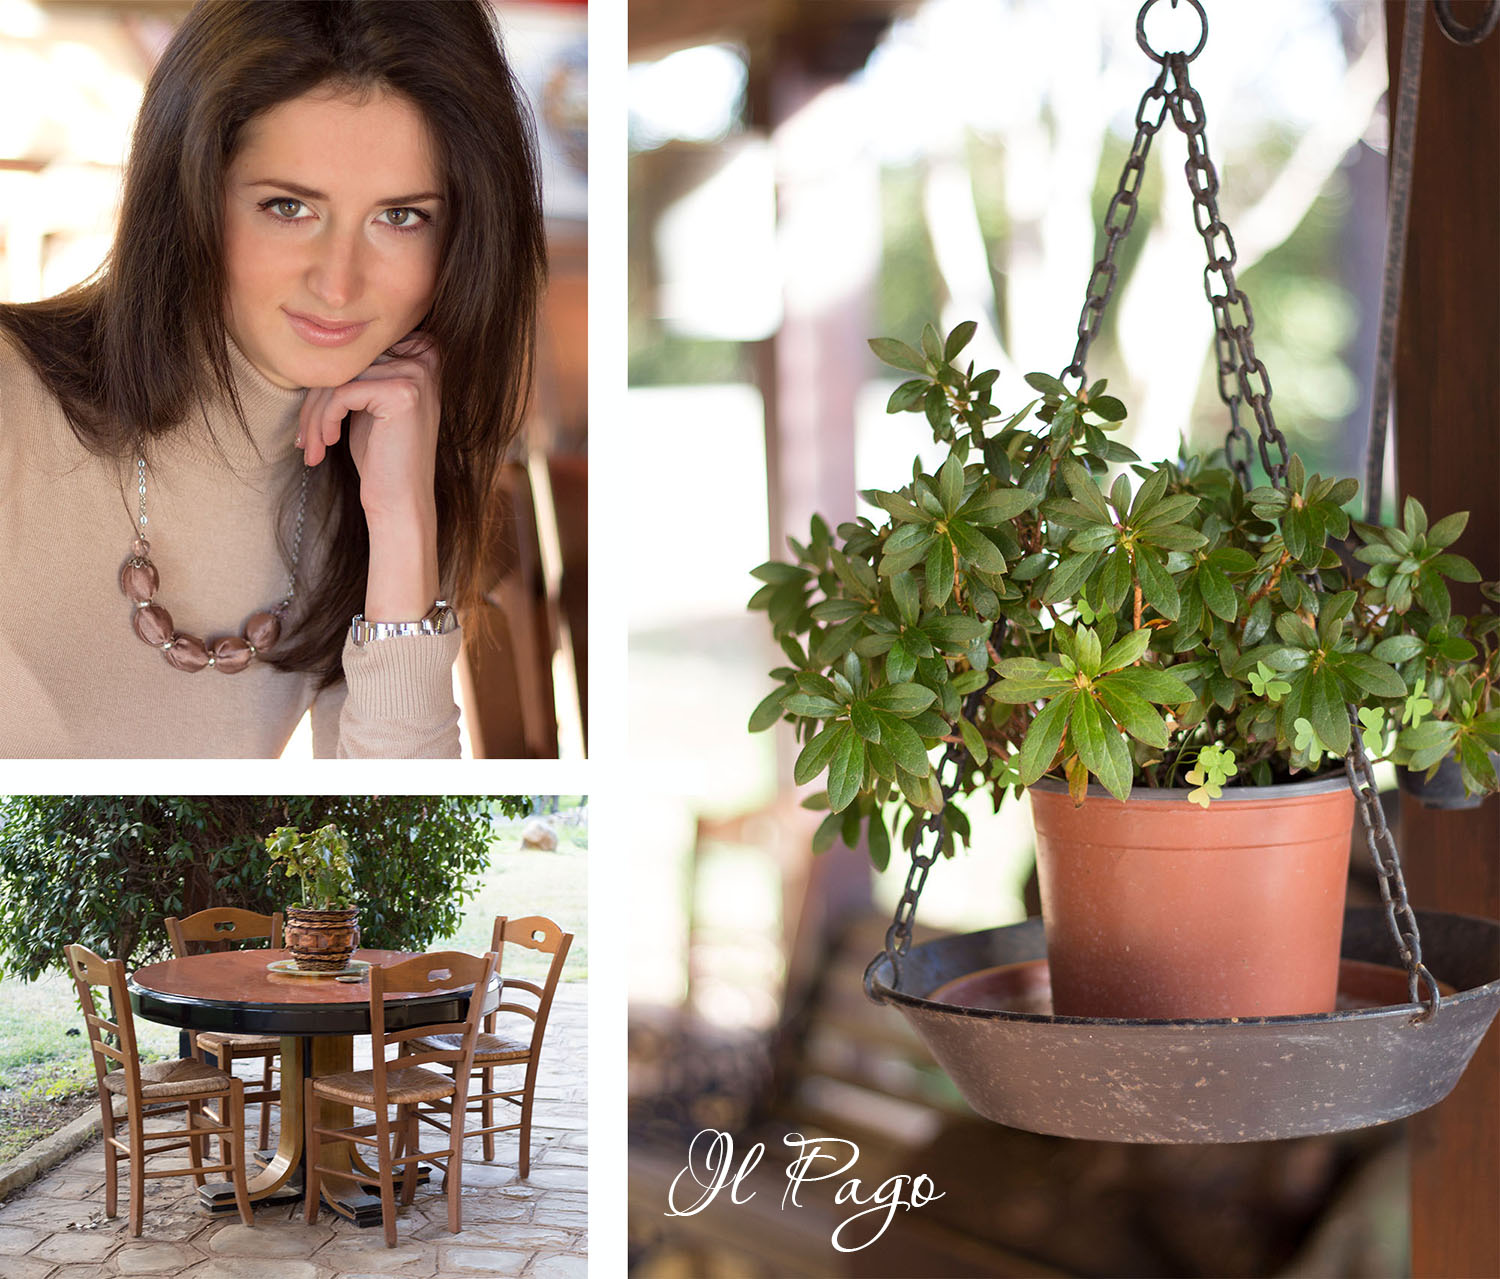
We spent the night not in the town, and a small agriturismo «Il Pago» next to him. Agriturismo - is a small hotel-restaurant with farm. «Il Pago» - was a very nice place, surrounded by orange trees and vinegroves. In the yard grew huge mimosa and despite January, it was all in bloom. And the smell was absolutely amasing! Why I love agriturismo's - is for unspeakable rustic country atmosphere, for immersion in nature.


Waking up, having breakfast, and collecting things, we went for a walk in the forest near Rotondella. 

I did a romantic photo shoot for Katya and Antonio, we hope to repeat it, when it will be warm weather and I will make a little Love Story for them.

This is the small country restaurant-farm, where we had dinner. 


then we gone for a walk in Rotondella and to take a coffee) 


Friday, January 25, 2013

Braided leather cuff bracelet tutorial


Braided leather bracelet tutorial is easy and fun! This bracelet took me about five minutes to make.
It will be great addition to every style outfits, especially for boho lovers!

Tools and Materials
•        Straightedge
•        Leather knife
•        Pair of nippers
•        Piece of leather, 8 oz.
•        2 Ribbon ends
•        Lobster clasp closure
•        2 Jump rings 0.2” diameter
•        Adjustable chain

Cut out strip of leather of length than you want the bracelet to be. Carefully cut two inside slits with a leather knife and traightedge, leaving 1/2 inch uncut at each end. Start a tight braid.
I always start with the right side over the center, left, right. Now before you continue, bring the bottom up and through the right loop. This will put everything in a twist for a moment. Do another set (left, right, left) Now bring the bottom up and through the left loop. This will straighten out the twists and on to the next set. So if you start on the right, the bottom goes through the right loop.

The leather braid should be tight in the beginning because the end will be loose.
Once you’re done braiding, your bracelet will look a little lumpy. Don’t worry. Just give it some time & it’ll break in nicely. You can put it under something heavy.
Once you’re finished braiding, you’ll attach ribbon ends and lobster clasp closure.

You can make it with a snap closure. In this case cut out a strip of leather of length 1/2 inch longer than you want the bracelet to be.
Your bracelet is ready!

This and other tutorials and patterns you can find on my site www.katrinshine.com


Wednesday, January 23, 2013

Crochet doilies table runner


I love doing something with my hands to my house. I always have in mind there are a few fresh ideas. Recently I had some free time and I realized one of them. And of course, decided to share it with you! It's table runner made from vintage doilies. I liked that it looked fresh, but a bit vintage and shabby at the same time.
I bought in a local flea market a few big doilies and several smaller. They cost something about 1 euro for 2 doilies. Of course they have some small spots or holes, but I think I will find a solution. I will cover one with other. Maybe you have some doilies at home,remaining from your grandma.
 Step 1: Lay out your largest doilies first, maybe in the center of the table.
Step 2: Fill in the spaces between them with the medium and smaller doilies..
Step 3: Overlap the edges of the big and small doiles. Try to cover holes and spots.
Step 4: Pin doilies together. Then make a few stitches to keep them together. If you want, machine-stitch them together.


Monday, January 21, 2013

Winter crochet skirt


With the onset of cold weather I always want to put on something warm and stylish at the same time. I am pleased to present to you a skirt for cold days. It is a beautiful long crocheted skirt with a flared silhouette made from the gray half-woolen yarn.
Because of its sheerness, you may need to attach lining, or you can wear it with leggings.  It will look splendid both with tall boots with high heels  or with wedge boots.
According to the latest fashion trends,  crocheted clothing is very popular. How to wear this crochet skirt in winter? A cropped jacket, knitted cap and scarf in matching colors for the street, a slim fit turtleneck or a fine knit sweater for the indoors - and you are all set.
I used a 50/50 wool/acrylic yarn. The thickness of the thread is about 300m/100gr (or 125m/50gr), hook number 2.5-3. The thicker is the thread, the longer is the skirt and the bigger are the patterns. If thinner thread is used, the skirt will be shorter. You can use cotton, and then you will get a nice summer skirt. Crochet should be very airy and loose.
This skirt was my first big crochet project and I worked on it for about three weeks. Several times I did it wrong and unpicked large pieces. But I am happy with the result. I did not attach lining to the skirt, because I want to wear it with leggings, too. Don't forgot to through ribbon or elastic in the waist.
These are patterns:

I found them here:
http://www.noshizukazrika.com.ua/index.php?newsid=391
My result:


Friday, December 21, 2012

Panettone - italian sweet for Christmas

Panettone is a large cylindrical bread which is traditionally served around Christmas in Italy. Pan means bread, but by adding tonethe word means large bread. Panettone is originally from Milan and recipe has at least 500 years, but wasn’t widely produced until the early 1900s. 
Unlike the quicker made recipes where fresh or dried yeast are added to ingredients, 
authentic panettone uses a starter, similar to a sourdough starter, to raise the bread. The dough goes through 3 different leavening stages, and it takes two days to prepare one panettone.  Due to the unique leavening process, it’s difficult to make panettone at home.
 The dough for panettone is quite rich and contains plenty of butter and eggs. Aside from the butter and eggs, most of the flavor of the panettone comes from the add-ins. The most traditional have dried fruits, candied citrus, lemon and/or orange zest and may be doused with amaretto before serving.
If you buy an artisanal Panettone you will notice immediately the difference with an industrial one: the freshness is what makes it delicious.  This year we found one pasticceria (pastry shop) where they make artisanal panettone with traditional recipe. It’s so beautifully packed so I'm sorry to unpack it.  


As it contain butter a piece of this panettone should be served warm. I put it for a few seconds in oven and it was so delicious!!!
Yummy!!!
Happy Holidays!

Free printable Christmas gift tags

Only a few days left before Christmas. In Italy Christmas is a big family holiday when all family band together usually in the hous of granparents. At midnight we open gifts and It's often difficult to find your gift becaise all packages and bags seem equal. Thats why this idea suggested itself to me - to print gift tags and write on the back side the name of person whose gift is, and maybe some words.  The tags are also a great way to personalize any gift.
Save and print these tags is a really easy way to save money at the holidays .
You can use these tags also in your scrapbooking project. I made them from vintage greeting cards that's why these Christmas gift tags looks so amazing and cute.


The size of the tags is 2x1.25 inch 48x32 mm and it's for standart 2" puncher. 
Make right click and save the image. Print it easily on home printer.  I recommend to print the tags on laser printer on 100 lb card stock. It's 8.5x11inch digital file which is standard letter size. Then cut off with scissors or puncher and make a hole. Then take nice atlas or organza ribbon, or maybe red yarn (like me) and pass it through the hole. With this ribbon you can attach the tag to the gift and make a beautiful bow)

Please, be aware that the digital collage sheet is not be sold as digital or printed collage sheet.

Happy holidays!


©2009 Katrinshine | by TNB