Showing posts with label do it yourself. Show all posts

Thursday, May 8, 2014

Crochet strawberry DIY

Last time I absolutely don't have a time ro write new posts so I ask my friends who want to write it for me)) So today I share with you this wonderful and simple DIY by MiracleFromThreads 


Crochet strawberries
In spring and summer we especially want bright colors and delicious berries. And if these colors are always bright, it is especially nice.
I want to tell you how to make delicious juicy bright strawberries for your home decor.
I can not tell how it explained in the books, I'm going to explain how I do it.
You will need a green, red and light yellow yarn, appropriate hook and wooden beads (resin ones are going well too).
How to make a crochet ball you can read also in other my post  so here I show only pictures. If you need explanations, go and read here.
Take red yarn and make a ball,  make the pointed end.

Then we crochet small leafs of the strawberry.
Begin from the other end of he ball where you don't have the pointed end. Introduce the hook, grab green thread and draw out making the loop. Make 4 chains. Attach with the crochet to the red berry, then make 2 half DC and 1 DC. Attach the leaf into the base of our berry. So, Your first leaf is ready. 

Make 5 leaves, you should have a circle of leaves. Make 3-4 crochet over the hole to cover it. Then make a 5 chains. Cut the thread and hold out it.


with the yellow thread embroidery corns over the red strawberry.

Remove all of the thread tails. 
Your strawberry is ready! 

Thursday, December 19, 2013

Felt Christmas tree ornament DIY

Today I 'll show you how I decorated my Christmas tree this year. I'm tired of the traditional sphers etc, so I searched in Internet for interesting ideas and stopped on decorations made out of felt. You can make them in many variations: with embroidery or without it, with crochet snowflake... The last one I liked most, so I 'll tell you how to make it. 


You will need:

  • piece of felt (which is not easier, sold by the meter )
  • Crochet thread (I used white and azure , as I love the combination of red and azure )
  • needle
  • scissors
  • button of flat
  • optional filler cushions

Let's start with the making a small snowflake, like this one:


And then cut two circles a couple of cm larger then snowflakes.

Make these loose stitches. Place the snowflake on top and sew it as shown, using previously made stitches. 

Make a few decorative stitches between the rays of the snowflake and sew a button in the center of it, now you can connect two circles. You can use simply forward stitch, or as I did use back stitch. You can fill in with a little amount of filler.
At the end make a loop :


That's what we got:
With embroidery and filled inside:


and stars

I hope you like them as I like and you decide to decorate the Christmas tree with these ornaments)

Wednesday, December 18, 2013

Recycled paper Christmas tree DIY

In many houses there are stores up a lot of newspapers or promotional leaflets, especially before Christmas, and often we throw them. 

What you can make with all this paper - CHRISTMAS TREE!
This amazing tree was my Pinterest discovery. I changed it a little and added some details. You can do it also with your children.

You will need:

  • a lot of paper (I cut up a thick newspaper and a couple of Christmas booklets)
  • adhesive spray
  • acrilic paint in spray (any color, I used silver one)
  • wooden skewer or long nail 
  • base (I used half of the foam ball - you can use wooden stand or polimer clay one)
  • piece of felt
  • awl
  • salt
  • Pearl dust
  • paper star
  • scissors 


You have to cut a lot of squares starting at 1" down to 6". For example, I made them from 14 cm to 3 cm. I've cut them by scissors and it took a lot of time. If you have paper cutter of course you will need less time.

First you will need to assemble a base for your tree. Base must be large enough, otherwise it will not sustain enough the weight of the paper. 

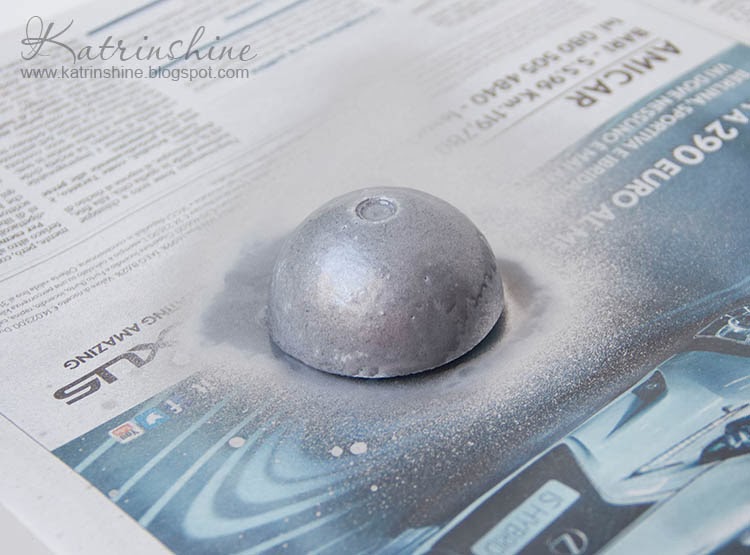
Cut the felt circle with diameter of your base. Cover the base with the paint. Then insert the skewer into the middle. When I put it in, I removed the skewer and put a little of glue into the hole and put the skewer back. So I'm sure that the skewer is secure.

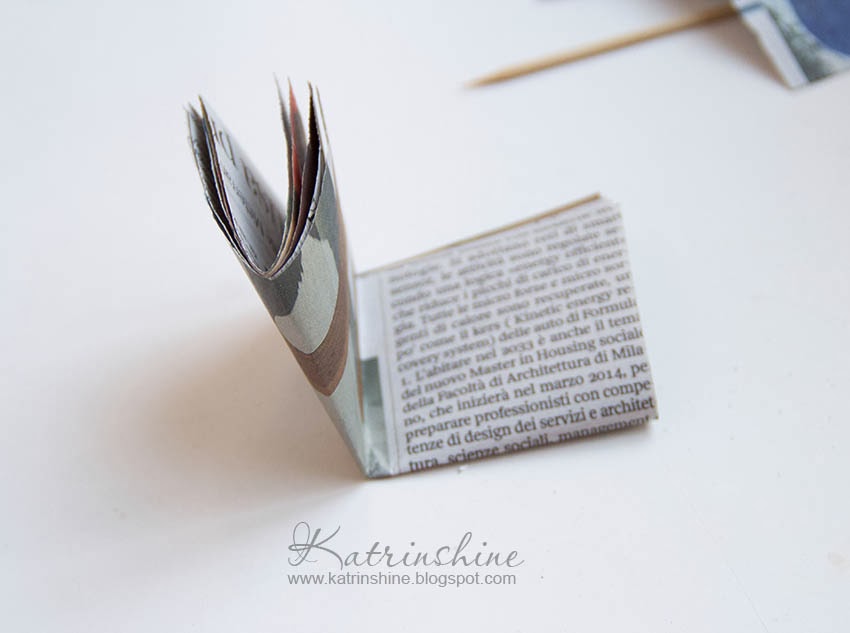
Now all paper squares fold in half and then in half to determine the center. Then do the hole with the awl in the center.


Once the base is ready and paper is folded and holed, you can begin assembling your tree.
Start with the largest squares. Thread squares and turn them. ISometimes between large squares I put little one to make the tree airy. Work your way up the tree until you get to the smallest squares.

Here's mine tree, but it 's not the end.

Now cover it with a bit of paint spray. This and the next few steps, you can jump.


Then cover tree with glue spray

and before it dryes, dredge with salt. Salt perfect for the role of the snow! Shake off excess salt after glue will be dry.

Now cover again with glue and then dredge with pearl dust
Cut out two stars from the paper and glue them on top of the Christmas tree.

Here's what I got:


You can make a huge number of variations of this Christmas tree using different paper, scissors, paints or pearl dust.

Saturday, December 7, 2013

Button Wreath Christmas tree ornament DIY

If you have a lot of buttons in your house, do not rush to throw them away, because they can be used for ...  Christmas tree decor! Make this project with your children)


All you need - a lot of flat buttons, thin ribbon, yarn or wire, and ribbon for bow! Just thread buttons in the order you like. Then tie the ends of the ribbon and make a loop to hang it on the Christmas tree. Then make a bow from second ribbon and sew it over the knot. 


If you replace the tape with wire, the decoration will be perfectly round because the buttons on the ribbon sag under the weight.


 Your decoration is ready!

Thursday, December 5, 2013

Beads And Ribbon Christmas tree DIY


How to make a cute Christmas tree decor with a minimum of time and money? Use materials which are always at hand! When you have imagination and a little bit of creativity, you can make a little Christmas tree almost from anything: from branches, from cardboard, from Christmas decorations, from ladders. In each craftswomen’s house you can easily find ribbon and beads, why don’t use them? Today I'll show you how to make a Christmas tree from ribbon and beads.
You will need a minimum of materials - ribbon (I bought a Christmas one, but can use any you have at home), beads (better bigger, not too small), thread with a needle.


 Secure the thread on the edge of the ribbon.

 Then thread on a bead. I took two, because they was enough small but larger I did not find at home.

 Fold over the ribbon.  Push the needle up through the centre. Add a bead. Fold the ribbon back, making it sit just a little in from the last layer.

 Continue until you have a Christmas tree shape!
 Secure the thread and then make a loop to hang the Christmas tree.
 I'll show you two ways to finish the Christmas tree, but you can come up with your own.

The first way - wrap piece of ribbon around top of the Christmas tree and glue.
 The second way - wrap several times end of the ribbon inside, so it does not dissolve.
 That's what we've got:


©2009 Katrinshine | by TNB